Hey everyone, welcome back to another blog post! Today’s topic; White Balance.
White balance is a camera setting that essentially allows you to pick the colour foundation of your images or footage. In simple terms, you choose the white balance to best suit and match the overall colour of what you see in person outside the camera. I’ll explain further.
If you’re shooting on Canon here are the options that are presented to you;
• Auto White Balance (camera picks automatically)
• Daylight
• Shade
• Cloudy
• Tungsten Light
• White Fluorescent Light
• Flash
• Custom White Balance
• Kelvin
How to put these into use you ask? Let’s continue!
For example if you are shooting during the day, you would pick the Daylight setting. If you are shooting indoors you might choose the shade setting. If you’re shooting somewhere where there’s a lot of yellow/warm light, like in a church or a bedside lamp, you would pick Tungsten Light.
White balance, from more of a technical perspective, is measured in Kelvin. It is a number given to match a particular colour temperature of light. If you see a lightbulb for example, a yellow light that you might see in a bedside lamp, or in your living room, would be 3000K (kelvin). Whereas a crisp, white light you might see in a bathroom or kitchen would be 6500K.
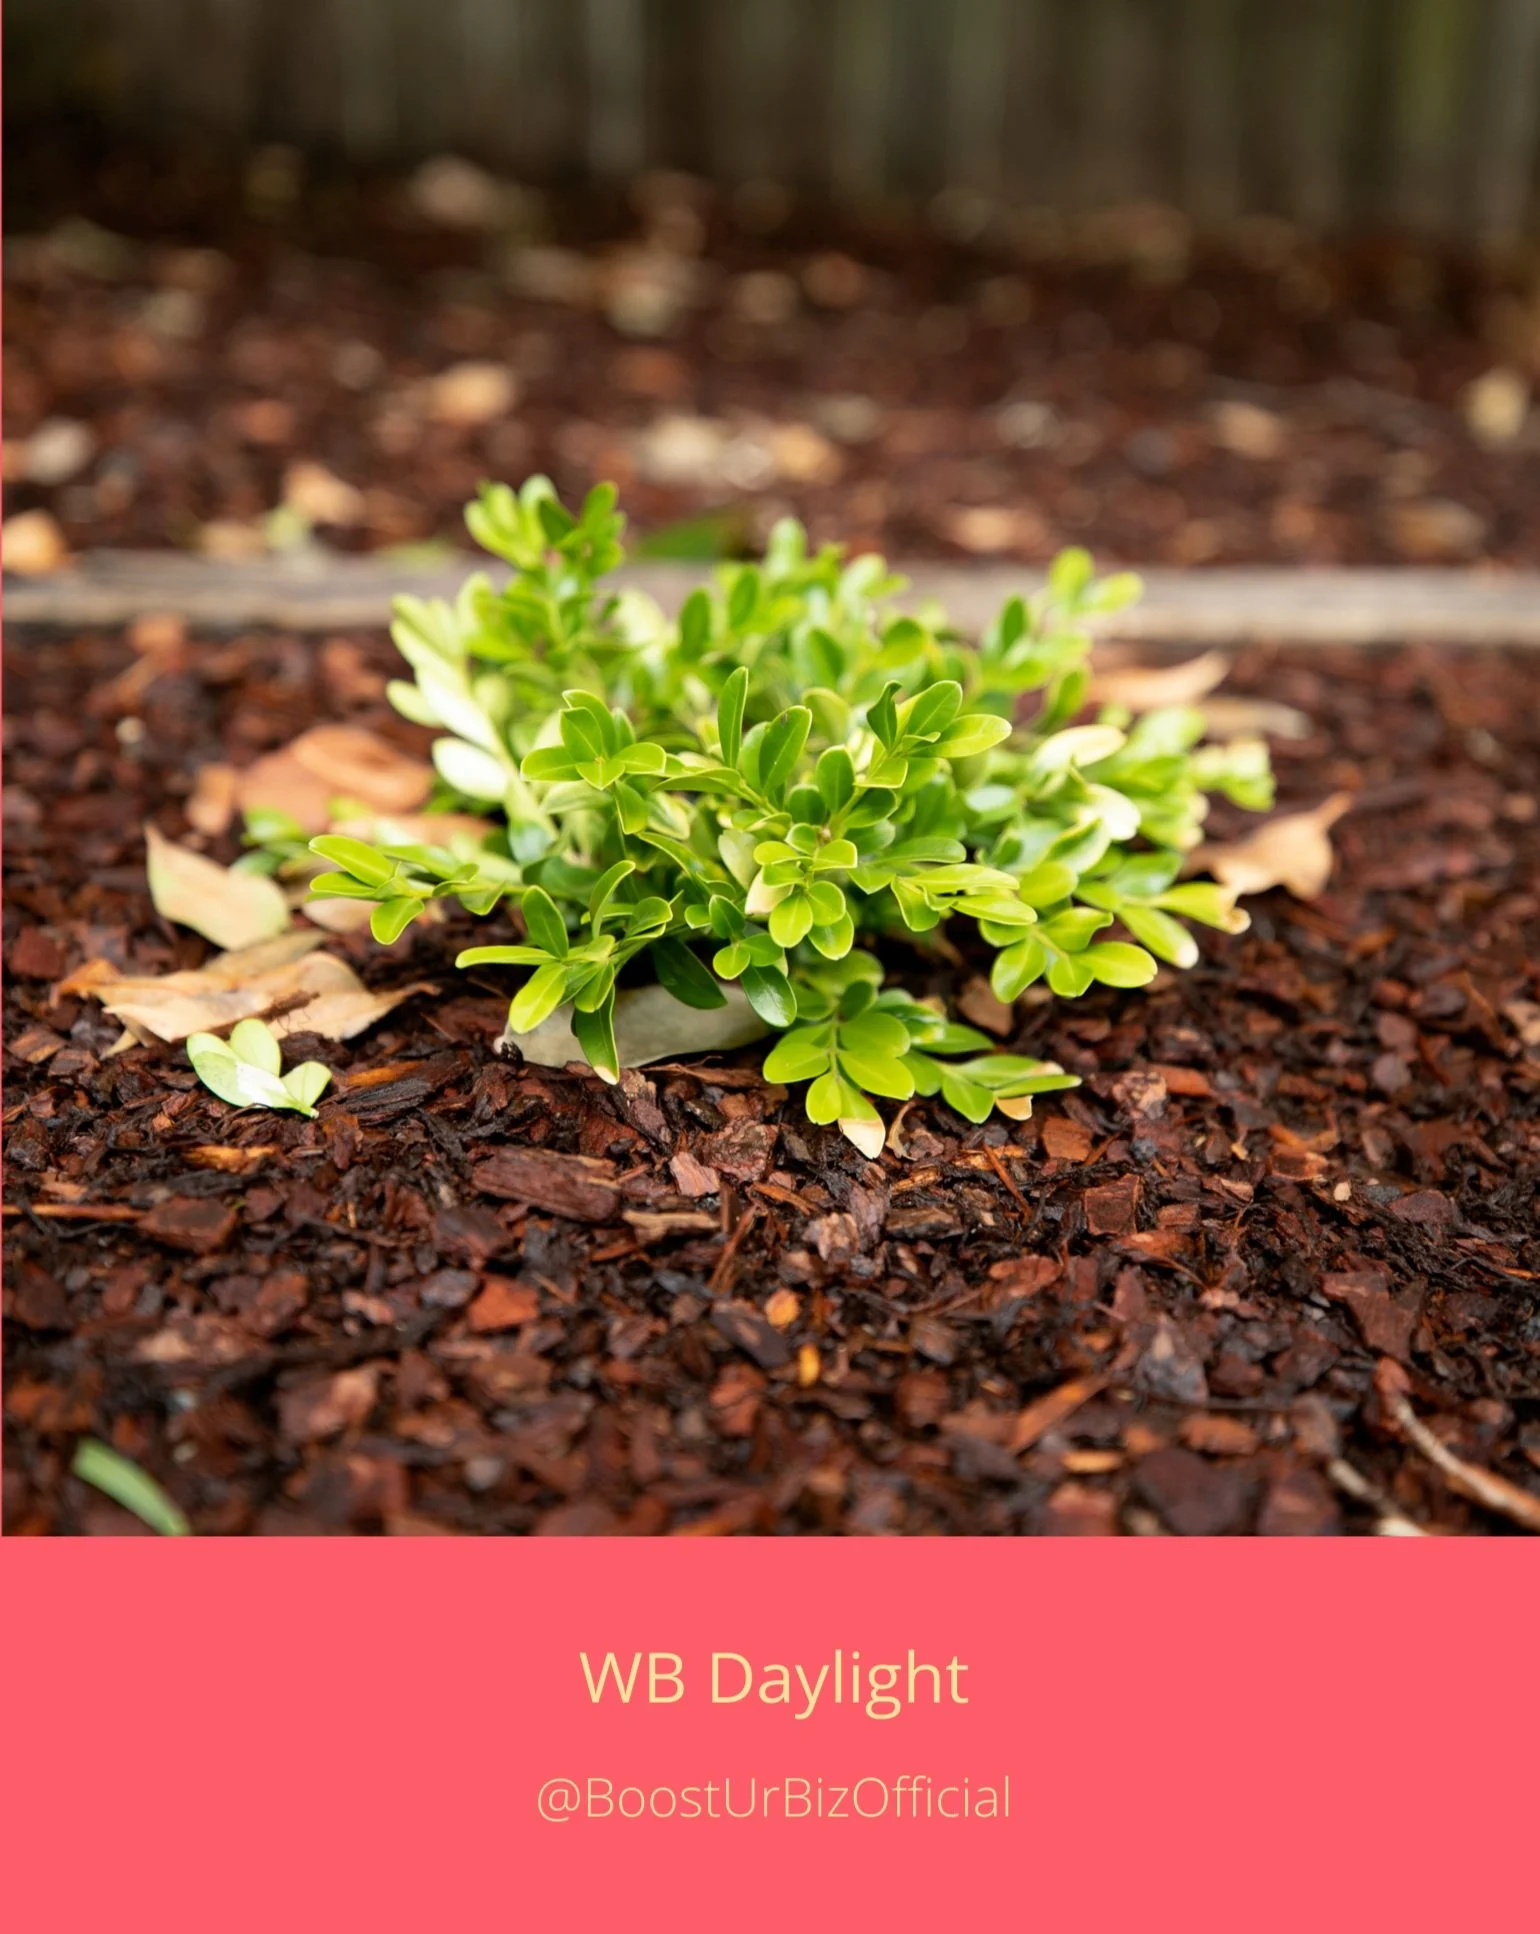
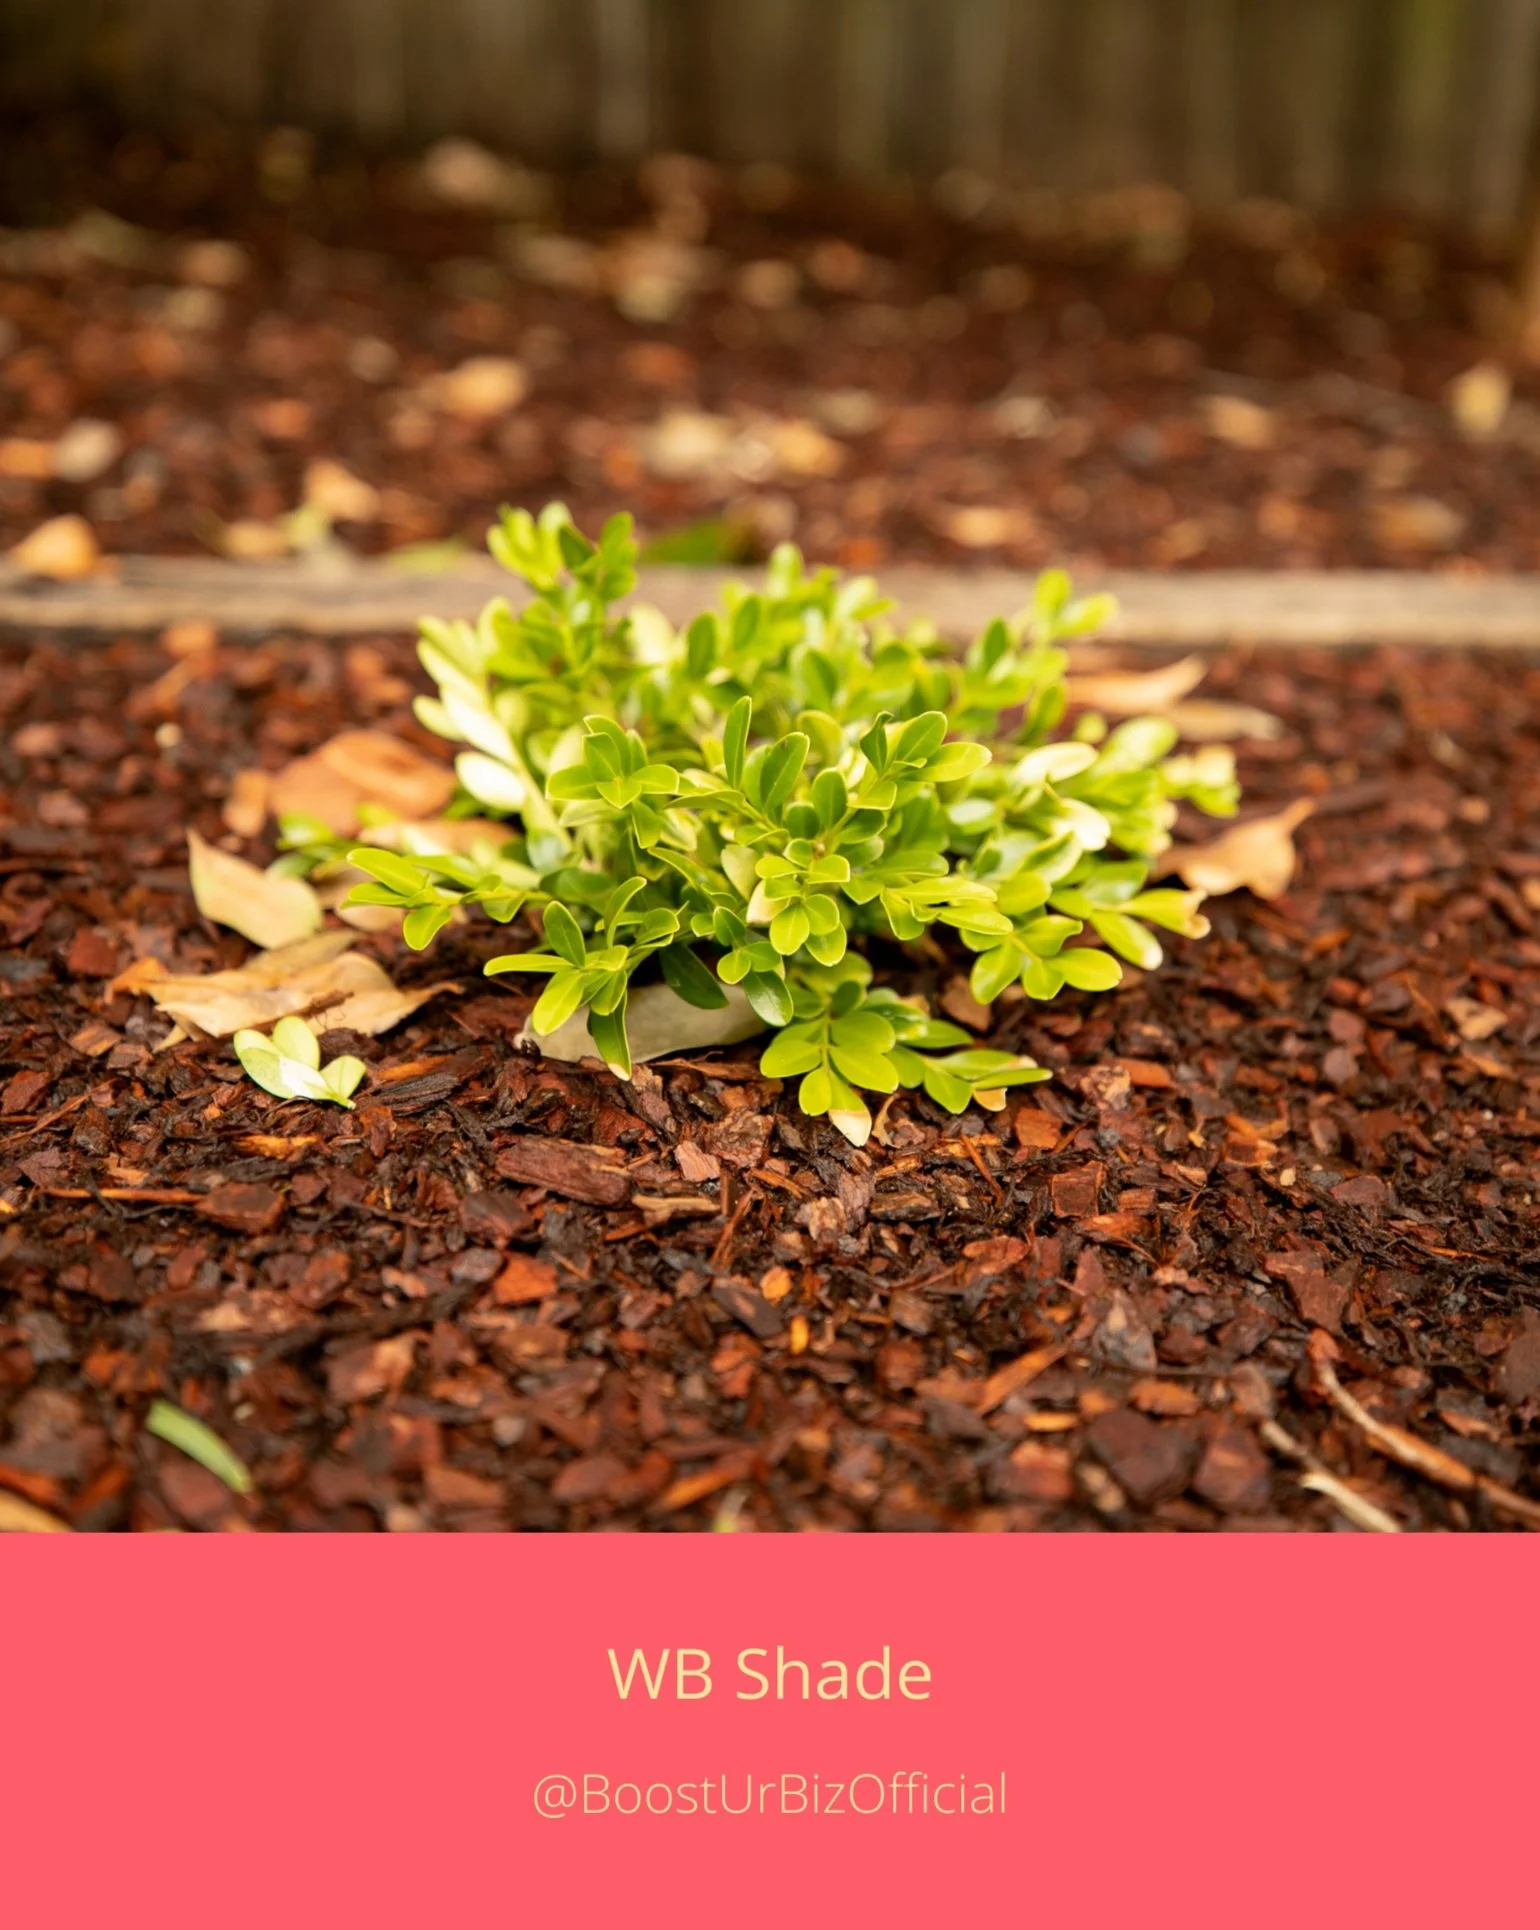
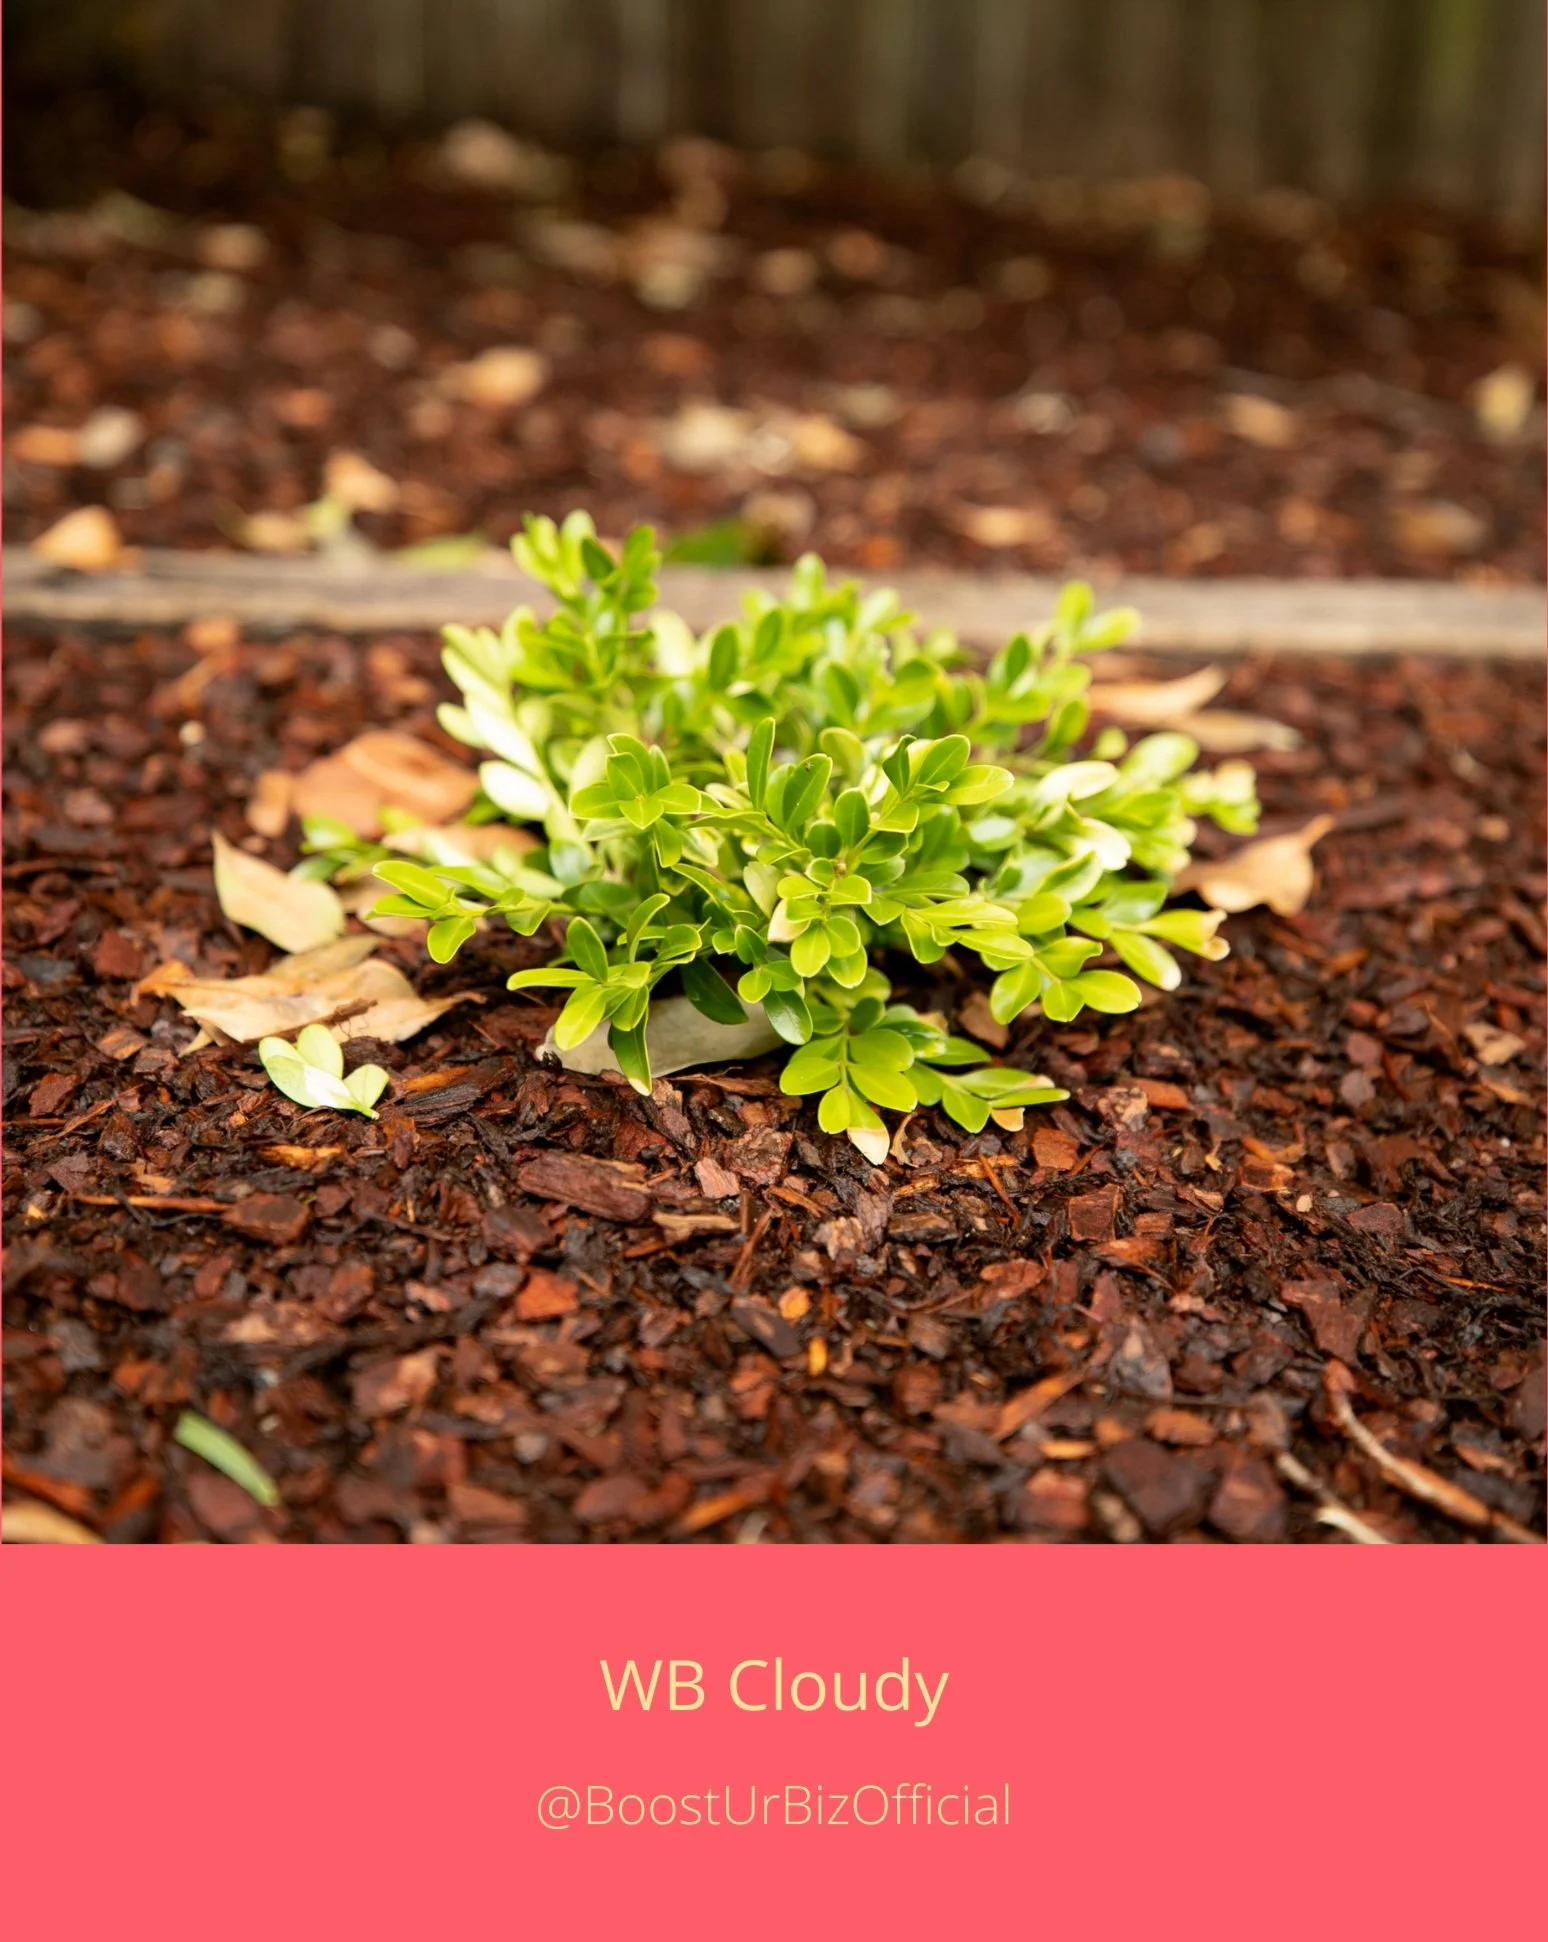
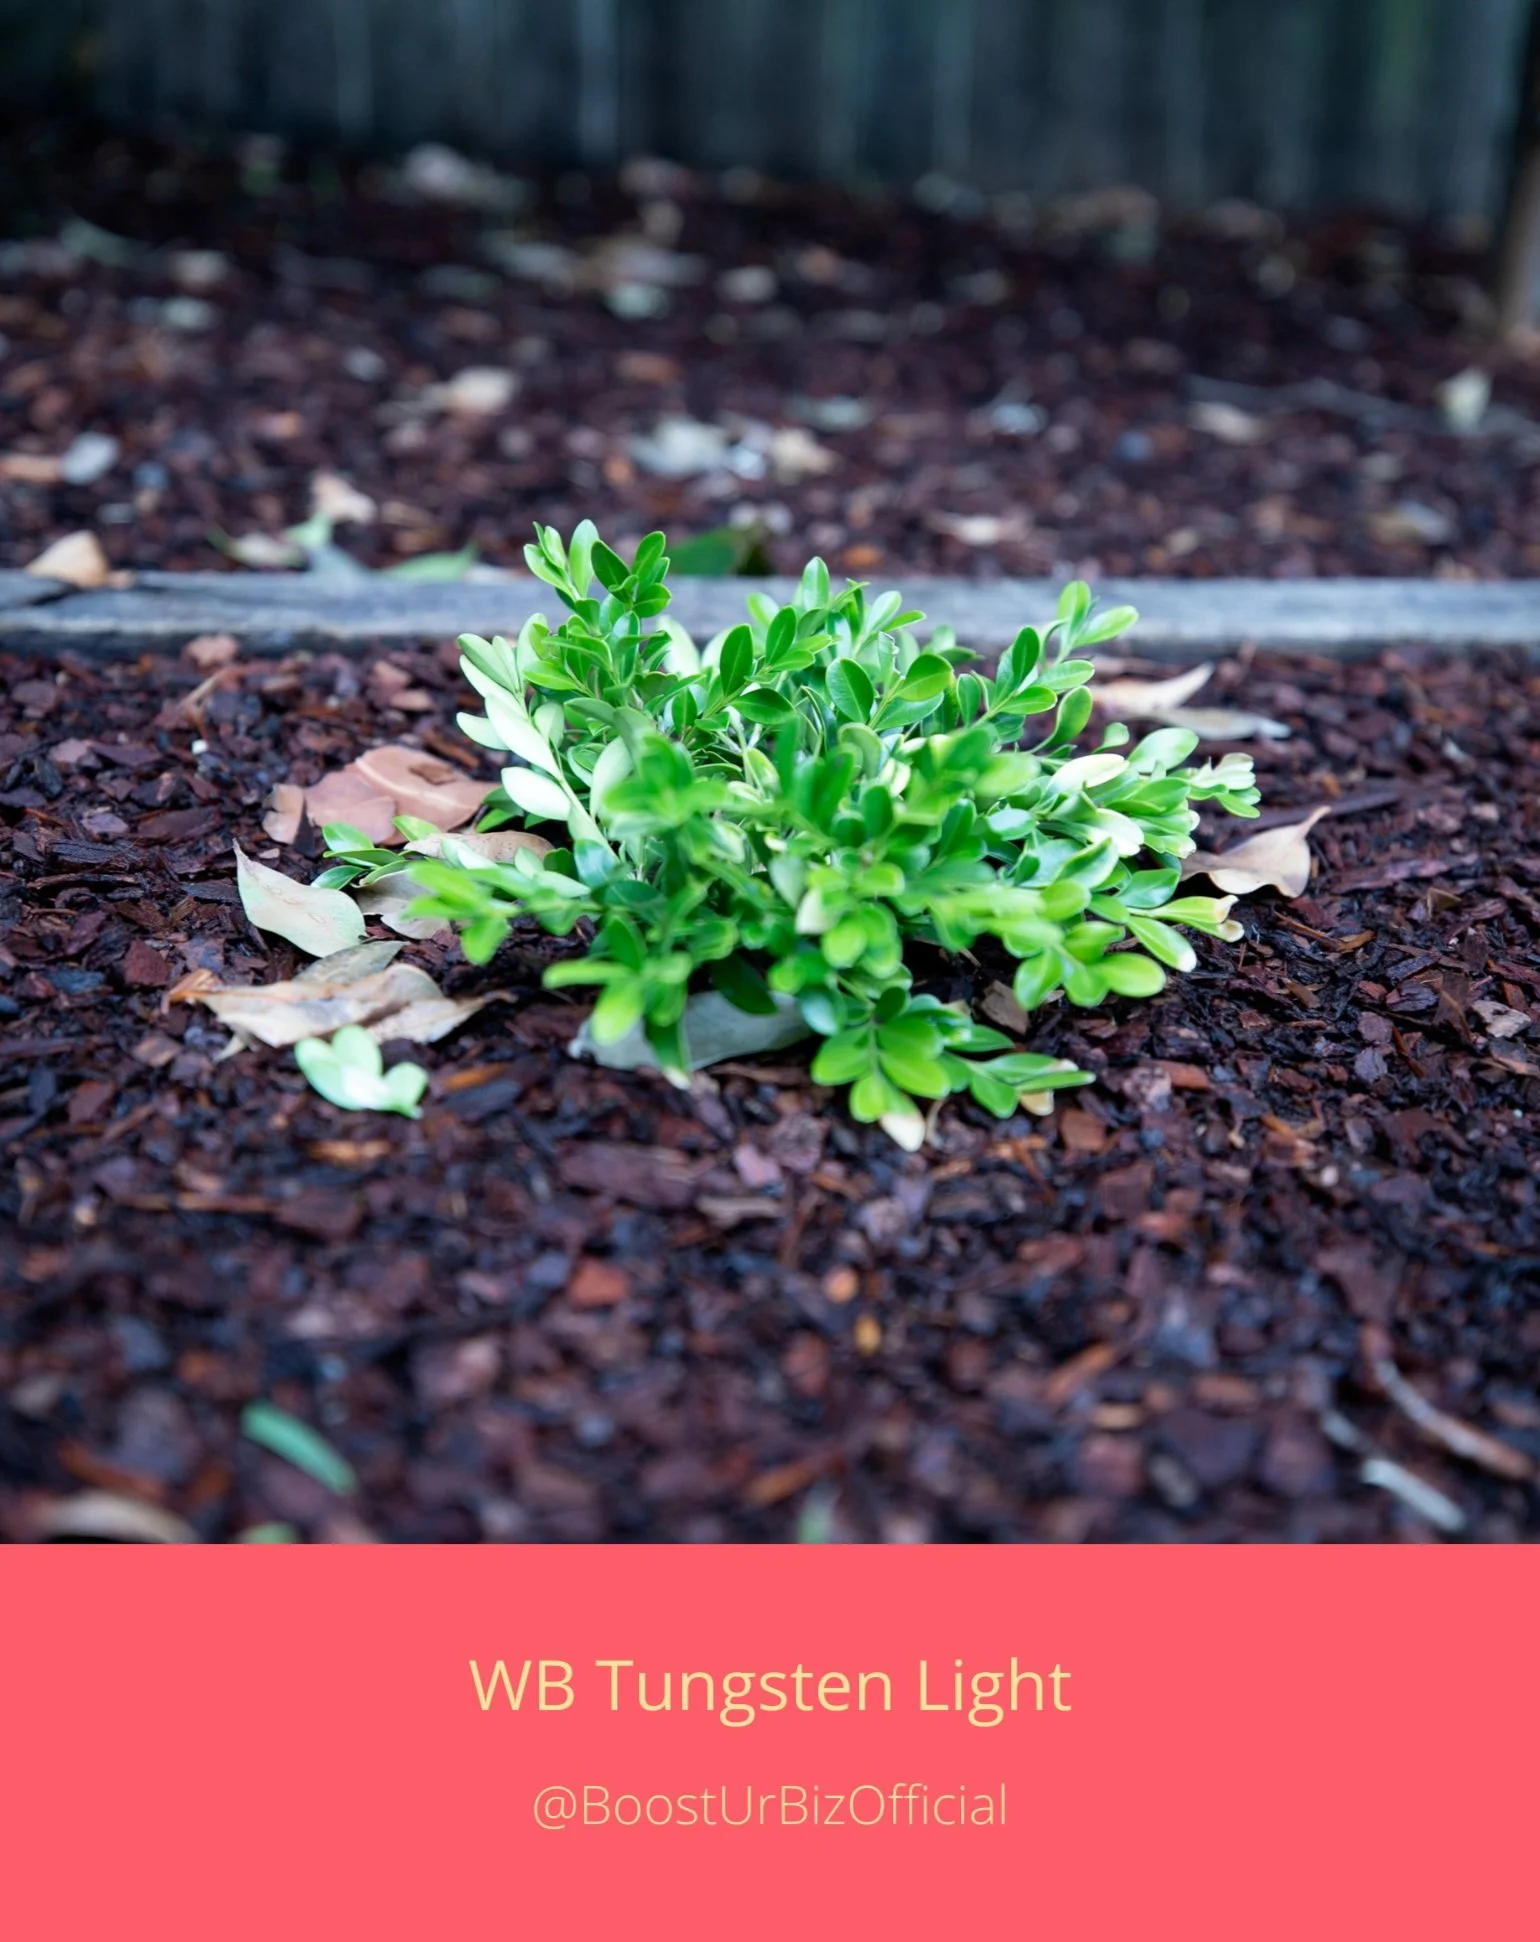
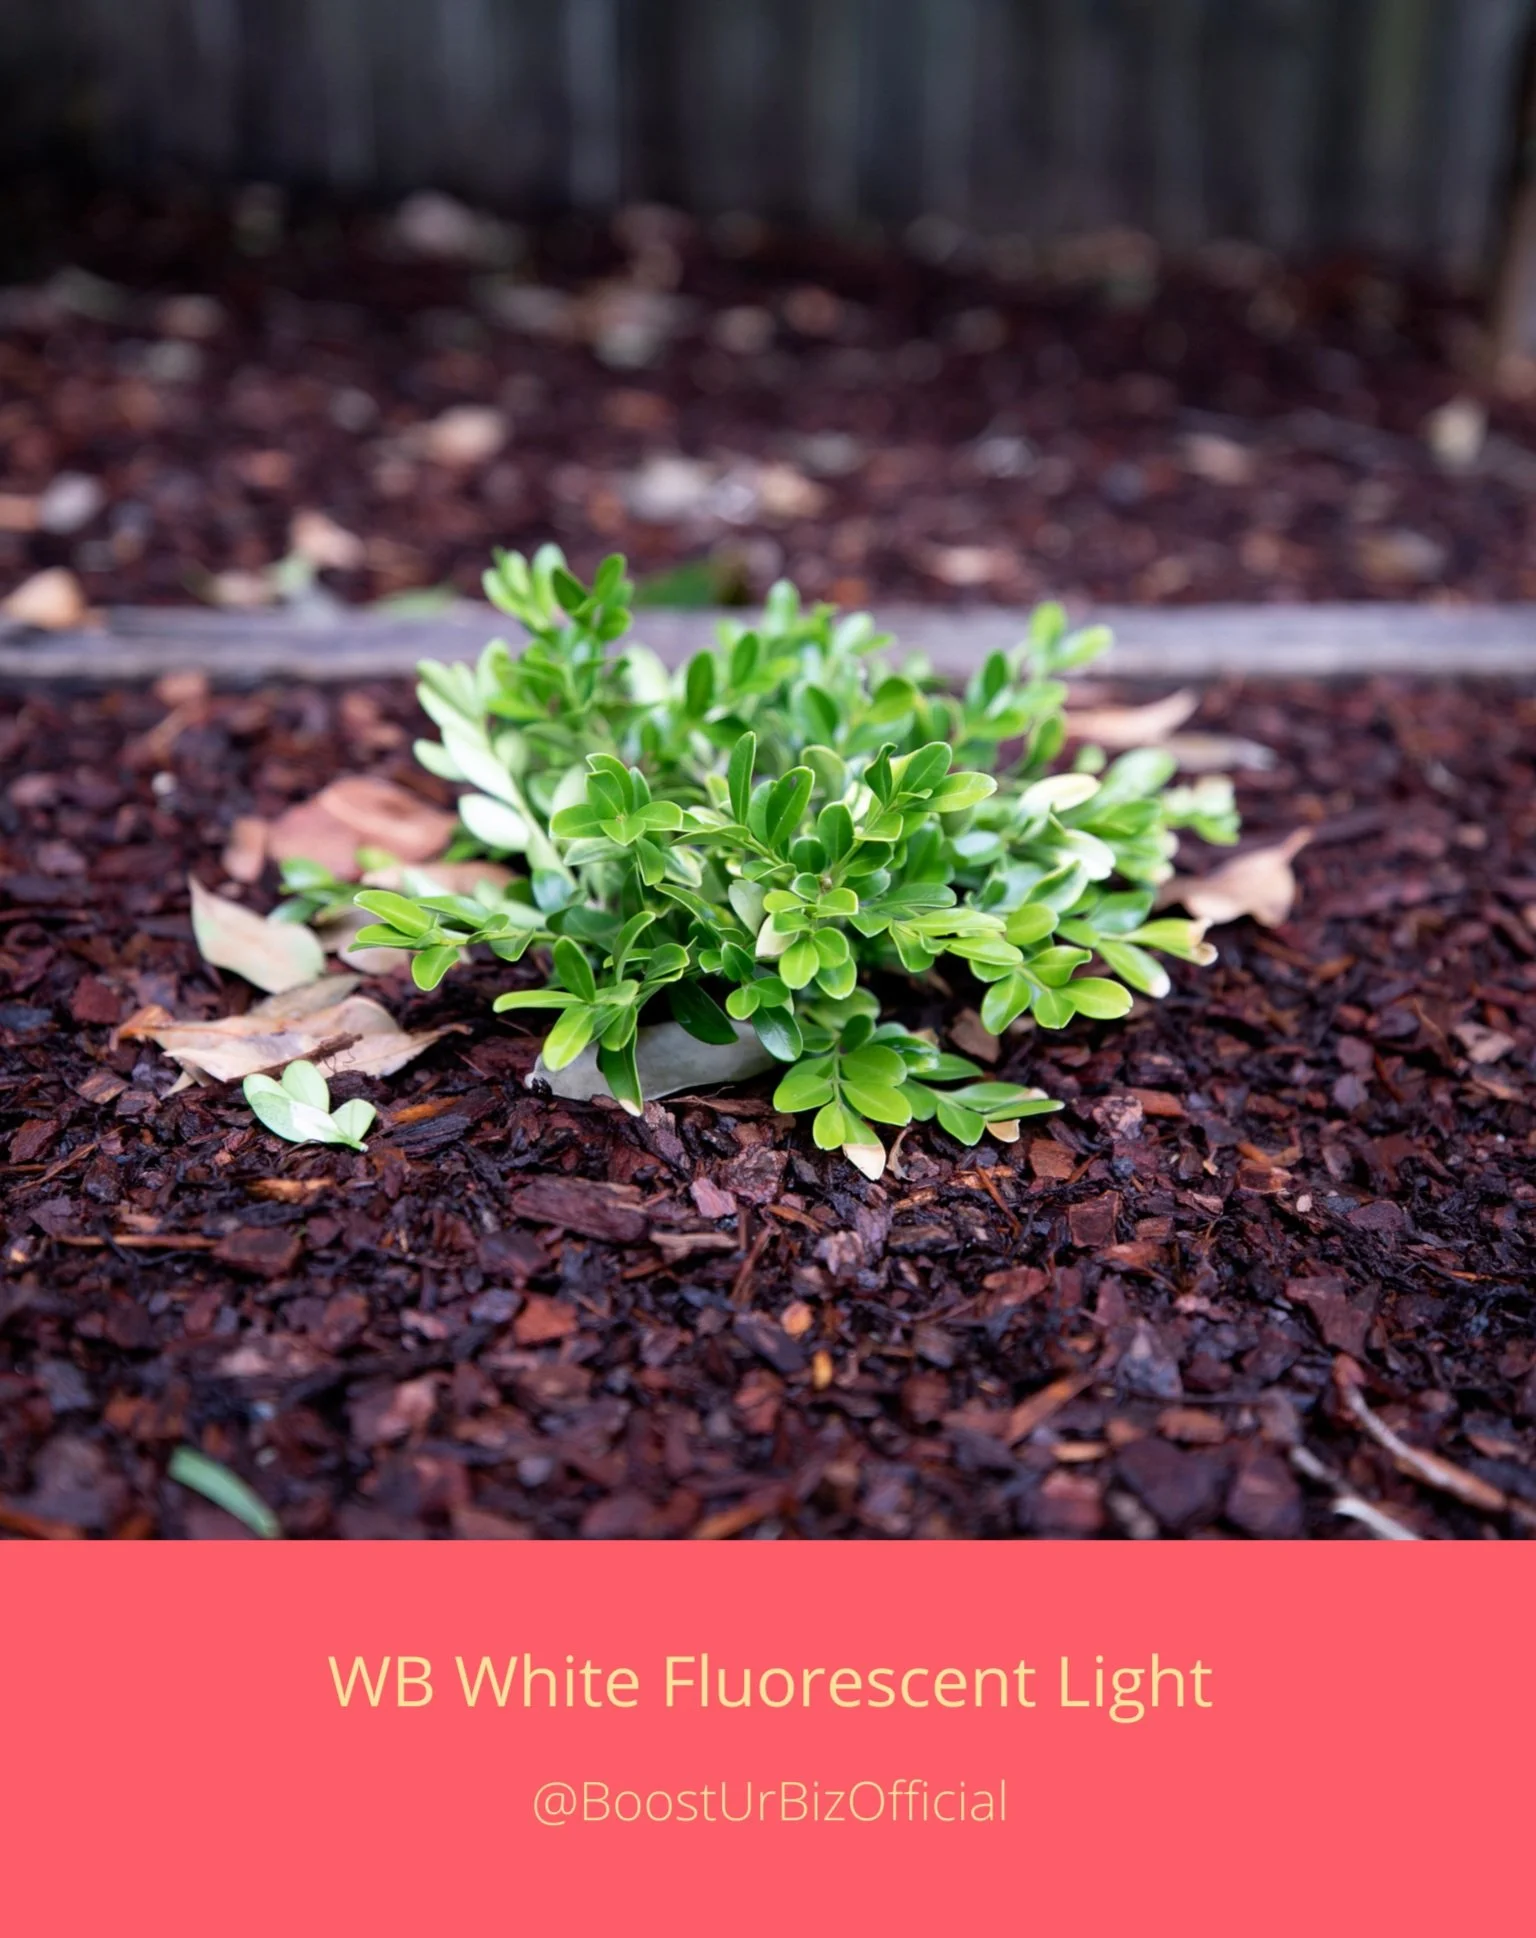
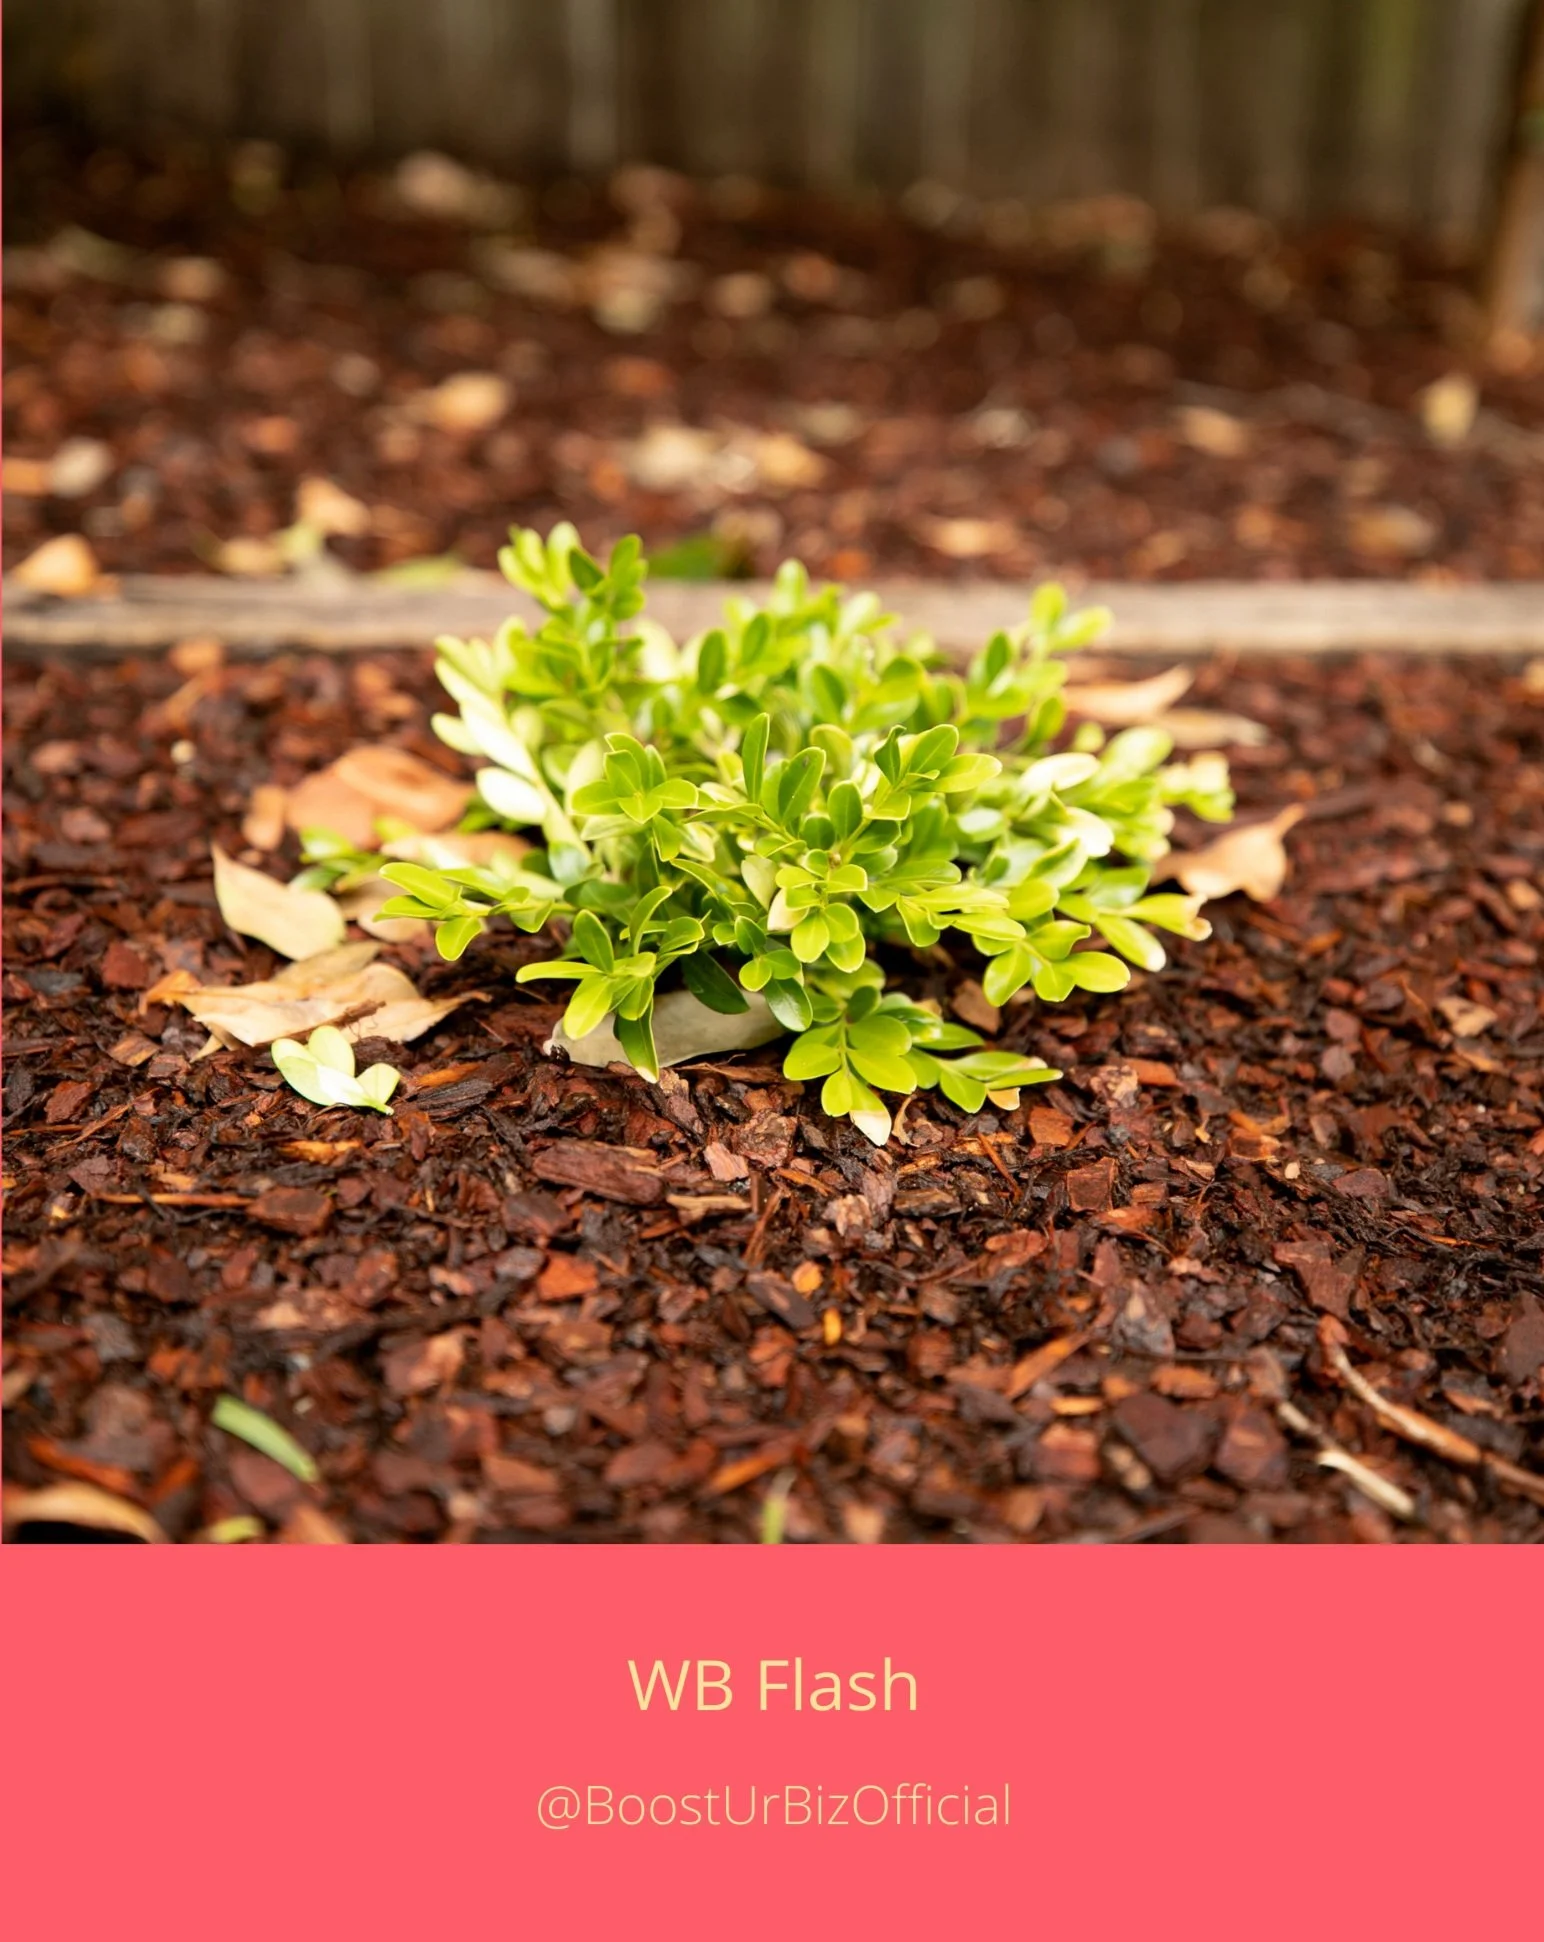
Let’s look at an example of a series of images taken of the exact same subject, however with each white balance used. This is a great exercise for you to try out to see how different white balance settings effect your image.
Try this out yourself on your own images and see what results you come up with. For the photos above, I would choose either Daylight or Cloudy as the day I captured these images had a bit of both. Don’t forget, if you shoot in RAW, this can easily be adjusted in post-production without causing any issues with the image quality. If you shoot in JPEG, adjusting the white balance in post-production can alter the image quality.
Auto White Balance is easy alternative if you’re not sure which one to pick. However, if you’re in a setting where the lighting may change, this can cause your images to all have different white balance settings. This will result in an increase of your editing time.
Tip: If you’re shooting at an event or at a wedding and you have multiple photographers, be sure to discuss with them which White Balance you are all using. Everyone using the same settings will make the editing team some happy people!
That brings us to the end of the blog. Thank you for reading and I hope you have learn’t something new! ‘Til next time!

