Hey everybody! Welcome back to another blog post :-)
Today’s topic is my 6 Step Editing Workflow Process. So you’ve just finished shooting at an event, and now it’s time to edit. Let’s get started!
Step 1: Storing Your Images
Before we get into editing the photos, you need to know where to store your images. I use a Seagate 4TB Expansion Hard Drive (EHD). Storing your images on your EHD is a lot more effective and efficient as you will fill up the space on your computer/laptop in no time! The RAW image files are a lot larger than JPEG, and when you come back from an event with over 2,000 RAW images (or more!), you’re going to need the disk space. Leaving your computer free will also allow for faster loading speeds and workflow.
Step 2: Upload Images from your SD Card onto your Expansion HD
Now it’s time to upload your photos from your camera’s SD Card to your EHD.
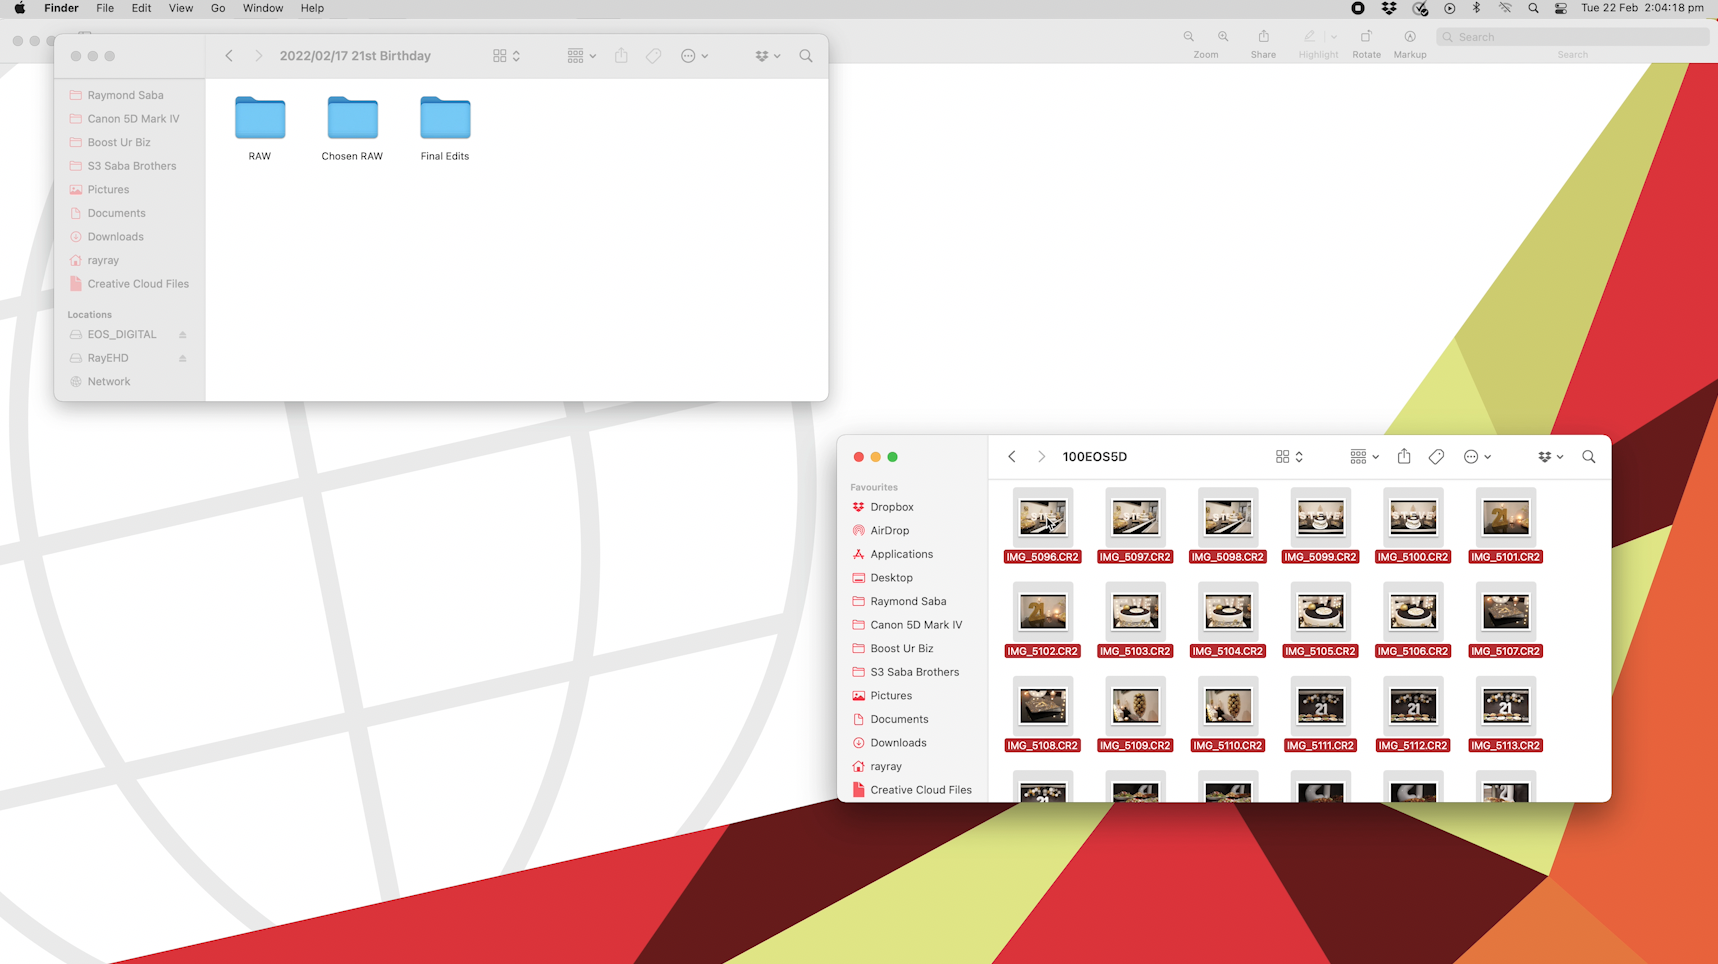
Start by creating an event folder. I name these starting with the date YYYY/MM/DD followed by the event name. YYYY/MM/DD event name
Inside this folder, I create 3 x more folders.
1. RAW (images copied straight from the camera to the EHD)
2. Chosen RAW (raw images chosen to be edited)
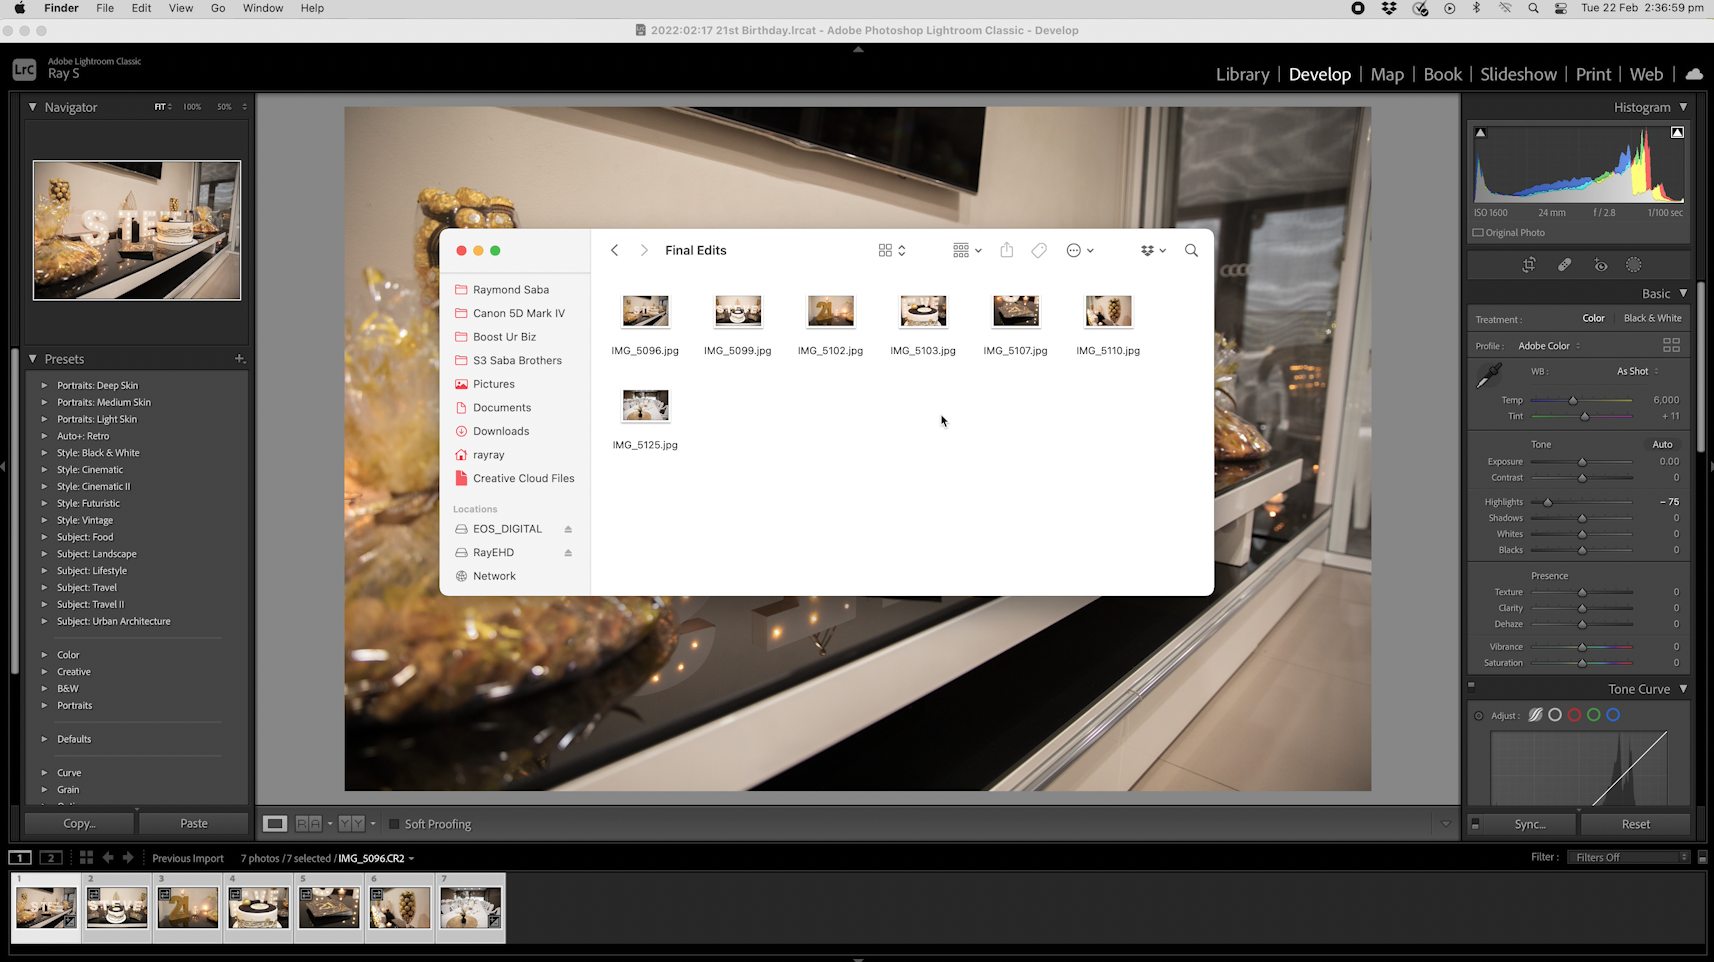
3. Final Edits (edited images that are then sent to the client)
Copy all of your photos on your SD Card, and paste them into the 1. RAW folder.
Step 3: Adobe Bridge
Step number 3 is working in Adobe Bridge (or something equivalent). This program allows you to preview your RAW images a lot faster, rather than previewing them on the computer/laptop itself. On a computer, the RAW images will have a short loading time to present a preview, so if you’re going through 2,000 photos it’s going to take a while. Adobe Bridge allows you scroll through the images one by one, and gives you an instant quality preview of them. Open up Adobe Bridge, and select your 1. RAW folder from the left side of the screen.
In this program, it also allows you to give each photo a Star Rating. For me, I go through each image and when I come across the ones I want to edit further, I’ll give them a star. Scroll through the entire folder of images and rate the ones you want to choose. When you have finished this, go to the top right-hand side of the screen and select the option “Filter Items by Rating“. Select the star number you used. This will now only show you the images you have chosen to be edited. The rest are hidden.
Once completed, select File -> Copy to -> Choose Folder. Locate your 2. Chosen RAW folder and proceed forward. This copies all the RAW images to your new folder. The reason we copy the images is so we keep the original photo quality. Exporting them will lower the image quality.
Step 4: Editing Photos in Lightroom
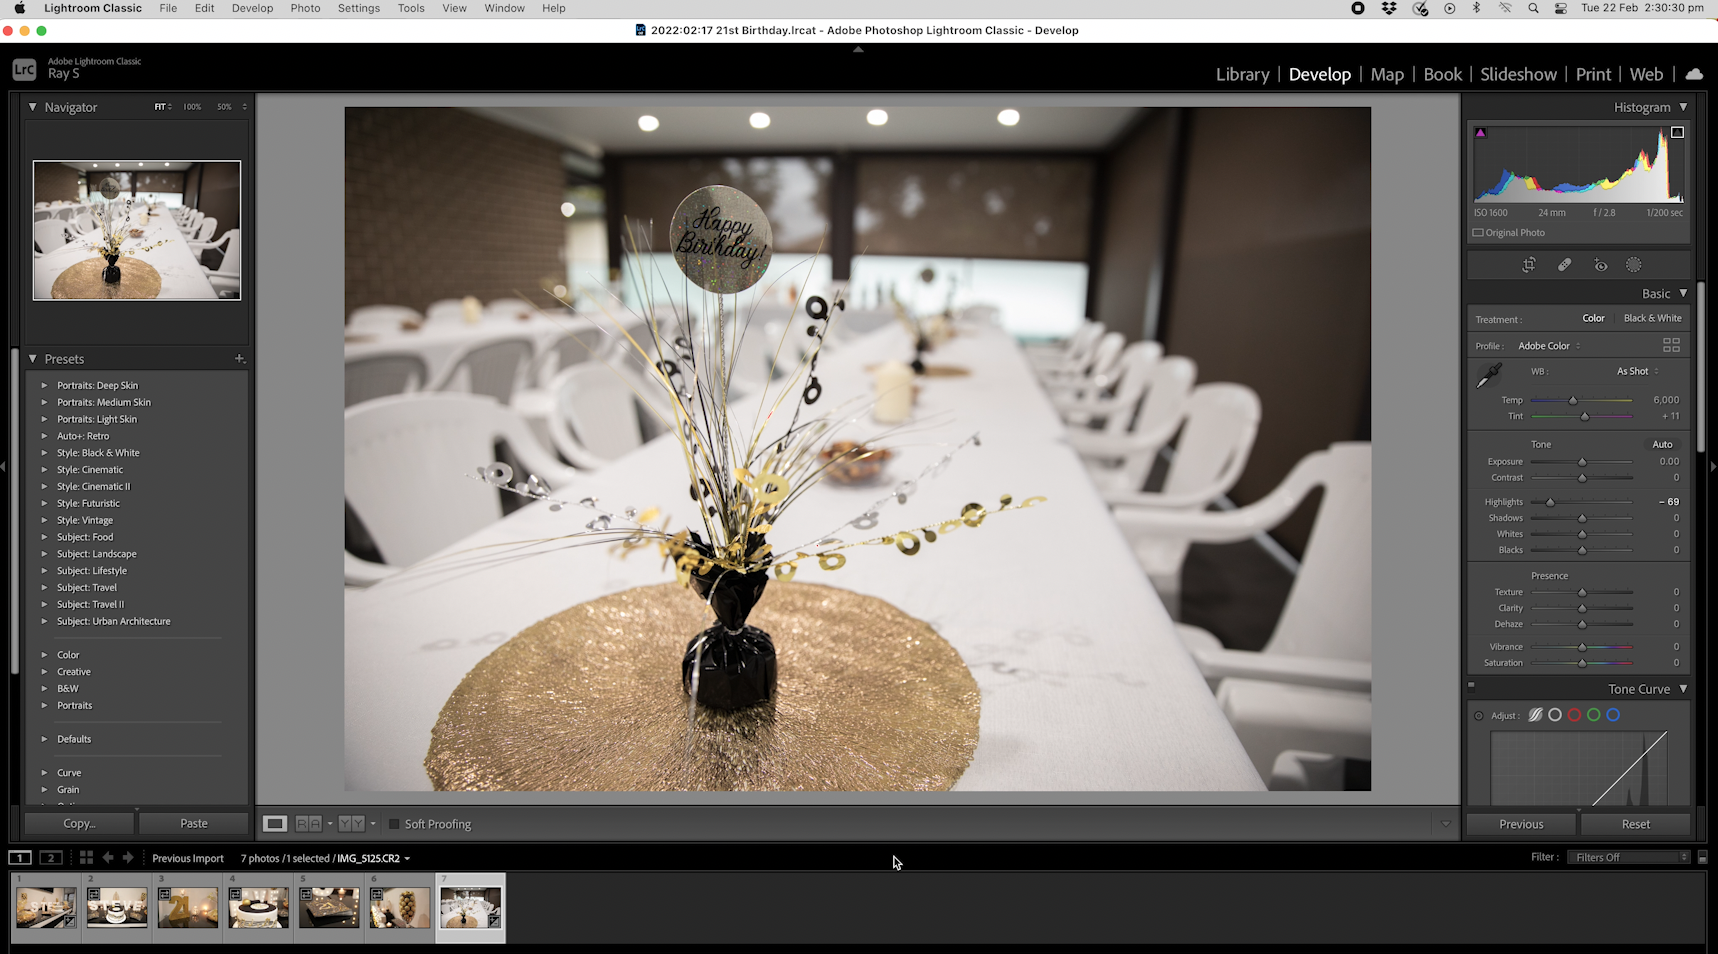
The next step is opening up Adobe Lightroom Classic and editing the photos!
When you open Lightroom, you will first want to create a “New Catalog“ and pick the event folder on your EHD. Creating this allows you to generate a Lightroom Database file that stores previews of your photos. The RAW images are not stored here, they remain on your EHD.
Next, you will need to import your chosen images. Click ‘import’ on the bottom left of your screen, and find the 2. Chosen RAW folder. Ensure all your images are selected.
On the top right-hand side for your screen, select File Handling -> Build Smart Previews. This is paramount! You need to select this if you want to move your catalog from your computer, and say edit your photos on your laptop in a different location. If you don’t select this, you won’t be able to edit on the database file. You can open and view the images, however you will get an error note saying that your ‘images can’t be located‘.
Next, select import, and choose the ‘develop’ tab in the top right corner of the screen. Time to begin editing!
Step 5: Exporting Images
Once your images have been edited, and look absolutely amazing, it’s time to export!
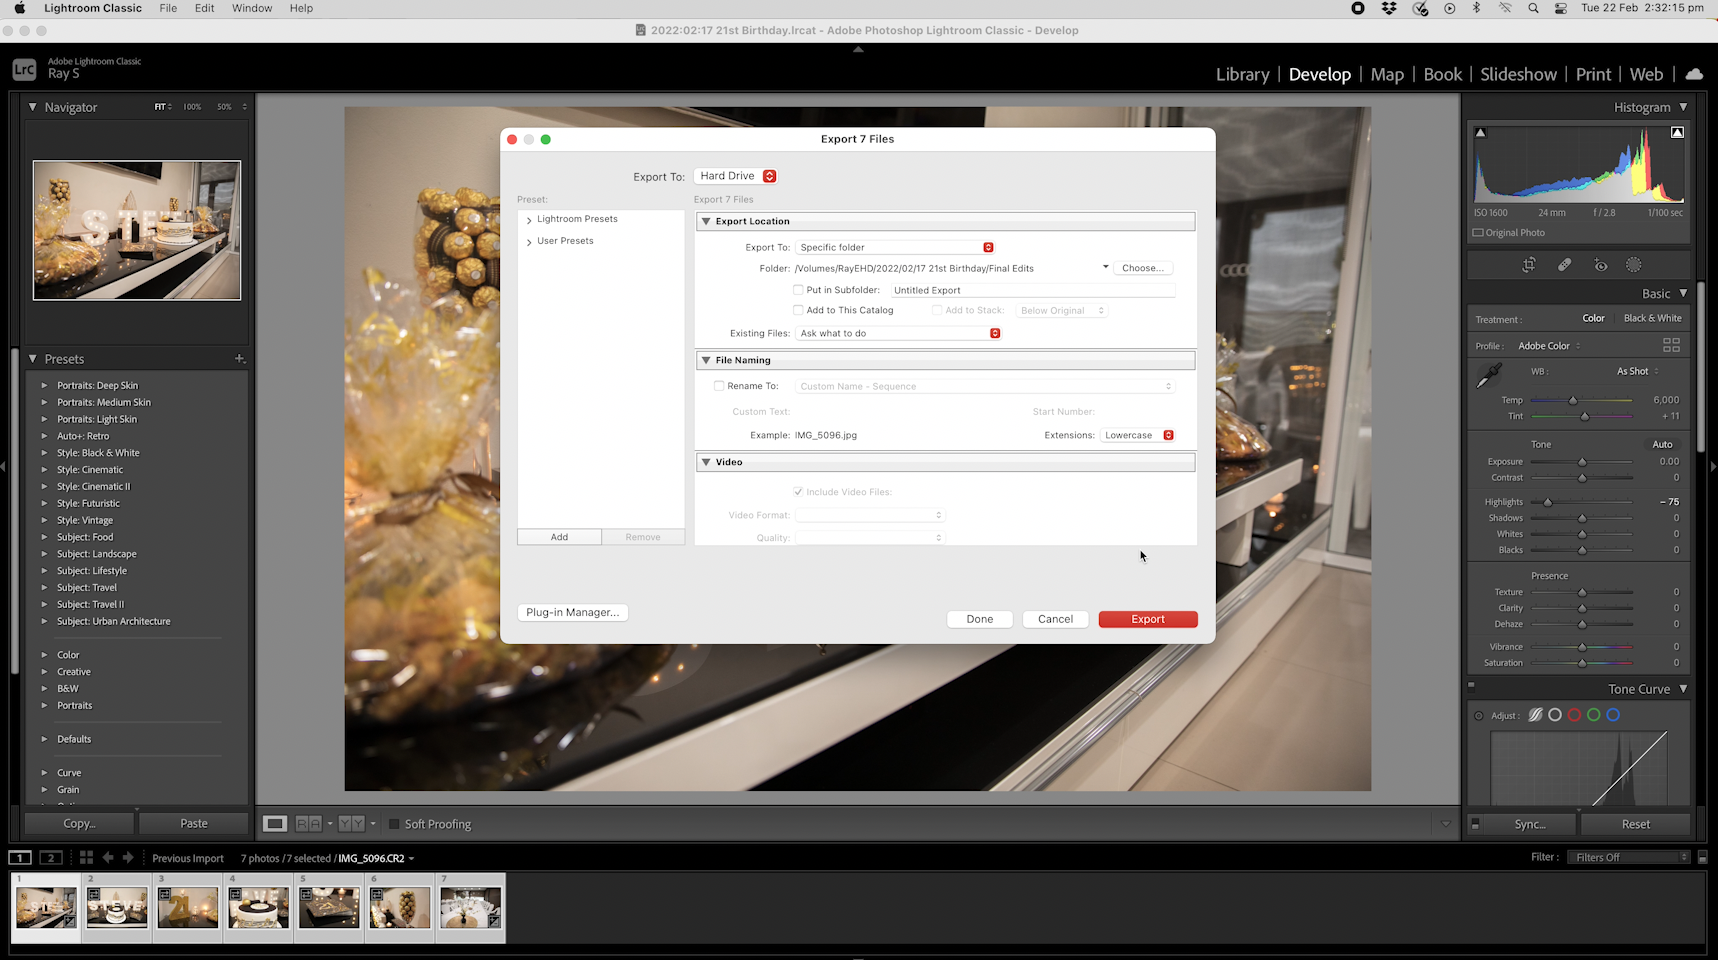
Select all your images - you can do this by selecting the first image, and pressing CMD-A (mac) or CTRL-A (windows). Go to File -> Export.
You will then be presented with an ‘export settings’ screen.
Select the location you want to export the images to - this will be the 3. Final Images folder.
Scroll to the ‘Image Quality’ section. You will see the tab that allows you to pick your export image quality (most likely on 100% by default). You will want to decrease this down to 60%. Now don’t worry, your photos are still going to look incredible! This setting keeps the image quality exactly the same, however it decreases the image file size. This will help with moving all the images, storing them, or for when the client comes to download them.
Once completed, click export!
Step 6: Sending Images to Client
This brings us to the 6th and final step! You’ve effectively stored all of your images on your EHD, you’ve categorised and organised your images, you’ve edited your images, and you’ve exported them. All that is left to do is send them to the client.
There are multiple ways of doing this, however what I do is send them via a Google Drive/Dropbox link, or via a USB.
To Summarise:
Prepare your Expansion Hard Drive to store the photos and create the 3 x folders.
Upload images from your camera’s SD Card to your EHD.
Filter through images in Adobe Bridge.
Edit images in Adobe Lightroom
Export your images.
Send final images to the client.
Well that brings us to the end of this blog post! I thank you for reading this far and I hope you have found this information useful. I wish you all the best with your photography endeavours. ‘Til next time!


